How to Improve Insulation in Your Campervan for Winter Camping
Published: 6th June 2025 Last updated 1 months ago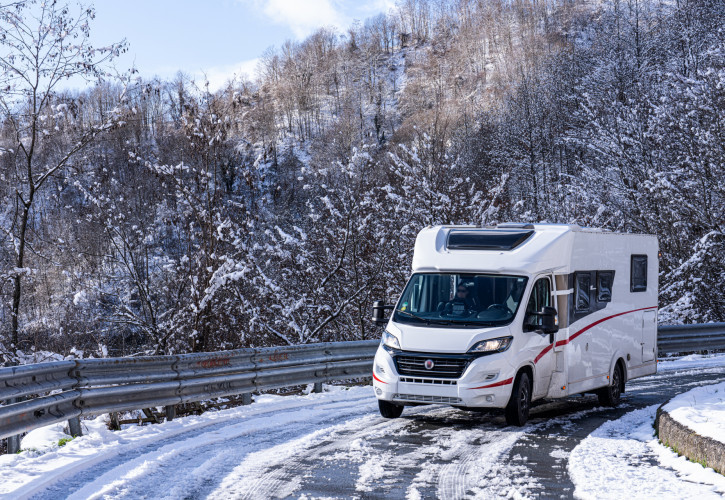
- Improving campervan insulation to winterproof your vehicle
- What is campervan insulation?
- What types of campervan insulation are there?
- How to choose the best insulation for your campervan?
- How to install your campervan insulation
- The importance of controlling condensation
- How does insulation actually work?
- Environmental and health considerations
- Other methods of keeping warm in your campervan in winter
Improving campervan insulation to winterproof your vehicle
Most outdoor adventurers will agree that the best time to head into the countryside is through the summer months, when walks are drier and nights are warmer. But modern campervans, motorhomes and caravans are made for travel all year round, so why not brave the frosty winter months? This blog will delve into the best way to do this, explaining how campervan insulation can be installed to keep you cosy no matter the weather.
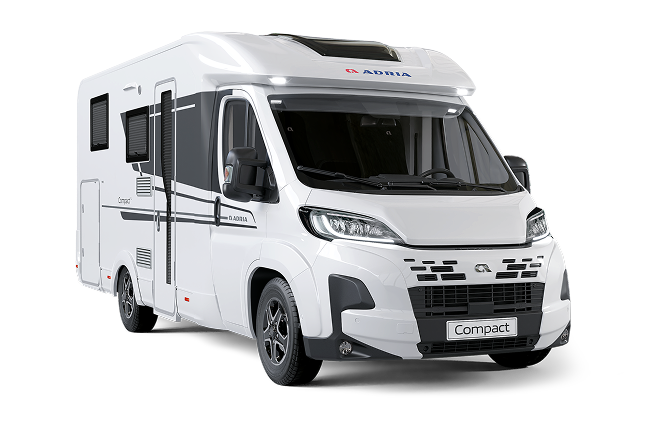
Modern campervans, such as those sold at our dealerships, are fitted with cutting-edge insulation on the walls, floors and roof, as well as double-glazing solutions to keep you warm throughout the year. No matter if you buy a new or second-hand campervan, when you buy a vehicle with Spinney, you can be sure that you’ll be protected from the heat of summer to the biting cold of winter.
But, the business of campervan renovations has gained steadily in popularity in recent years, with the subject of campervan insulation unsurprisingly becoming a key talking point.
So, what is campervan insulation?
It might sound like we’re stating the obvious, but let’s get started by explaining exactly what campervan insulation is. Just like the domestic kind, campervan insulation is installed to help regulate the interior temperature of the vehicle. By fitting insulation into the walls, roof and floor of the vehicle, it can be kept cooler in summer and warmer in winter, making for happy camping all round.
Though it’s similar, campervan insulation isn’t exactly the same as domestic insulation. Thanks to the awkward shape and weight requirements of a campervan, insulation options should be more flexible and lightweight. In addition, it should be particularly impervious to moisture so that the insulation doesn’t become like a sponge, damaging the structural integrity of the vehicle.
In fact, campervan insulation is graded from 1-3 based on the European Standard EN 1646-1. The breakdown of each of these grades can be found below:
Grade 1: Minimum insulation requirement – these campervans/motorhomes are not suitable for year-round use.
Grade 2: Must be able to maintain an interior of 20 °C when it is 0 °C outside. Suitable for use throughout most of the year.
Grade 3: Must be able to maintain an interior of 20°C when it is -15°C outside. These campervans/motorhomes can be used throughout the entire year and are ideal for winter getaways.
What types of campervan insulation are there?
While it seems as though every single campervan would be fitted with grade 3 insulation, not every vehicle can facilitate the size and weight of this option. Therefore, there are several types of campervan insulation that come under different grades that suit every kind of traveller and DIY renovator. The most commonly used insulation materials for campervans include:
- Foam board
- Loose fill insulation (mineral wool or fibreglass)
- Spray foam
- Insulation roll (often made with recycled polyester or wool)
How to choose the best insulation for your campervan?
When it comes to choosing which of these insulation options is the best for you, there are a range of different considerations, from how easy it is to fit to how much it costs to install. There is no single ‘best insulation for a campervan’, but if you’re looking for an easy way to make a decision, take a look at our table below for a simple comparison.
| Heat retention | Ease of Insulation | Resistance of water | Eco-friendliness | Cost | Best Use | |
|---|---|---|---|---|---|---|
| Foarm Board | Very good – superior insultator | Moderate – needs cutting and sealing | High | Low- made from harmful chemicals | Expensive | All flat surfaces |
| Loose Fill | Good – fills all gaps | Moderate – loose materials need containing | Low – materials should be treated | High – natural materials | Affordable | Enclosed or awkward spaces |
| Spray Foam | Very good – air-tight seals | Difficult – needs a professional | High | Low – can be made eco-friendly | Very expensive | Awkward vehicle shapes |
| Insulation Roll | Good – depends on material | Easy – just cut and fit | Depends on material | Varies depending on material | Affordable | All flat surfaces |
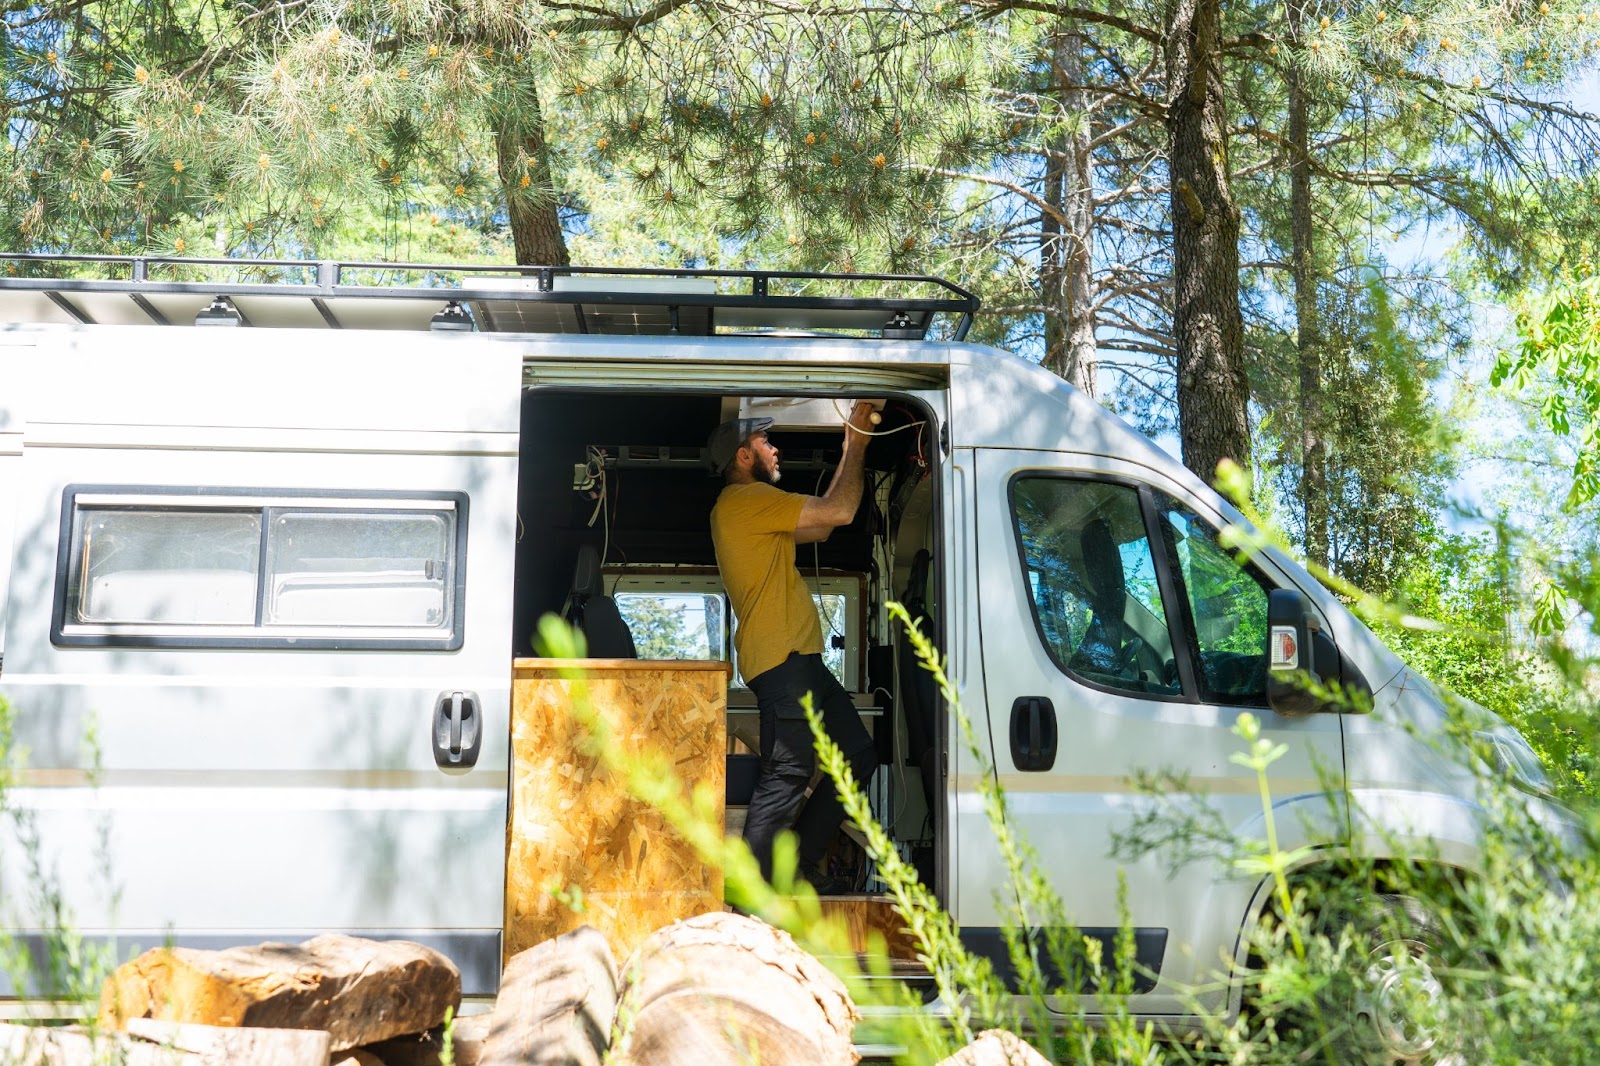
How to install your campervan insulation
As we’ve discussed, all the campervans we have for sale at Spinney are fitted with insulation, meaning that you’re ready for an adventure come rain or shine. Why not try out the compact Swift Monza range, or, if you’re looking for something a little more spacious, Auto-Trail’s Adventure collection?
But if you’re looking to refurbish a campervan or need to bolster your existing vehicle’s insulation, take a look at our short guide be
1. Make sure you have the right tools and materials
This will sound obvious, but if you’re refurbishing a campervan yourself, it’s imperative that you do everything properly, which means using the right tools and materials for the right jobs. We don’t want to hear you using any bubble wrap! As well as your chosen insulation materials, make sure you have the following tools:
- Utility knife.
- Strong scissors.
- Handsaw.
- Tape measure.
- Aluminium foil tape.
- PPE (gloves, safety goggles and a dust mask).
2. Strip your campervan
To properly insulate your campervan, or even to improve it slightly, you’ll need to strip your campervan, removing all fixtures, including the floor if you wish to insulate that, too. This will allow you complete, unrestricted access to the interior body of your vehicle, allowing insulation to be easily installed.
3. Get measuring
Next, work out how much insulation you will need to complete the job, measuring insulation roll or foam roll if you’re using it. This can be done by taking the internal measurements of your van first, then matching this to the same amount of insulation (with a little bit extra to make sure you don’t come up short).
4. Don’t forget about sound deadening
It might not be insulation, but it’s a good idea to start with sound-deadening materials if you haven’t already got some installed. Since they’re large metal vehicles, campervan conversions can be really loud when you’re driving or when you’re trying to relax in heavy rain. Therefore, it’s important to use sound-deadening materials to reduce resonance, installing the sheets over large, flat metal areas of the van.
5. Install your insulation
Exactly how you install your insulation will depend on which insulation you have opted for. Some insulation roll types, for example, have a self-adhesive back, making installation super easy – simply attach it across as much of the interior flat surfaces as you can. Other solutions may require the use of aluminium foil tape, staples or pins to make sure the insulation stays in place. Cavities of the van should be filled with loose-fill insulation or spray foam insulation.
For more information about the installation of insulation, check out the video below.
The importance of controlling condensation
At Spinney, our service centre has seen it all, with water ingress and mould damage being one of the most common issues with refurbished campervans. This is why it’s so important to put proper ventilation in place while you’re planning your refurbishment. This can be done by installing solutions like roof and window vents, and extractor fans that should be used when you’re creating excess amounts of heat indoors, such as when you’re cooking or sleeping.
The use of vapour barriers, which are installed between the insulation and the body of the vehicle to prevent moisture build-up, is also an optional solution. Otherwise, the prevention of moisture build-up can be done by performing regular interior checks, providing proper ventilation when appropriate and even by using dehumidifiers when moist air is circulating in the campervan on a cold day.
How does insulation actually work?
Time for a quick science lesson. Insulation works the same inside your campervan as it does inside your home, slowing down the transfer of heat by preventing the way that heat usually travels. For example, insulation is a poor conductor, so in summer, when heat moves through the walls of the van, insulation will slow down the transfer of warmth into the vehicle. Similarly, in winter, reflective foil layers of insulation retain heat within the vehicle, preventing it from radiating back through the walls.
Want to become an expert in campervan insulation? You might want to familiarise yourself with these terms, too:
- R-Value: Most insulation materials have an R-Value, which relates to their resistance to heat flow. The higher the R-value, the better the material is at insulating your campervan.
- Thermal bridges: Gaps where heat can bypass insulation – thermal bridges can be avoided with sufficient insulation.
- Air loops: If your van hasn’t been adequately insulated, air loops can occur. This process refers to when warm air rises and cools again on cold, uninsulated surfaces, creating condensation.
Environmental and health considerations
Modern insulation solutions have been carefully manufactured to pose as little risk to the environment and to personal health during installation as possible.
If you’re looking to travel sustainably, you’ll probably want to consider natural, biodegradable insulation options like wool or hemp to keep your campervan warm. Alternatively, there are insulation choices that use waste materials, such as recycled plastic bottles or pre-loved denim, to create a quality heat retention solution. Meanwhile, you may want to avoid foil-back foam insulation that uses petrochemicals in its manufacturing process.
When installing insulation, it’s important to follow safety guidelines to avoid health risks. This includes using PPE when placing fibreglass, which can irritate your eyes and lungs if improperly placed. Some kinds of insulation, including fibreglass, also release volatile organic compounds (VOCs) throughout their lifespan. To avoid poor internal air quality, consider materials with a low VOC content.
Other methods of keeping warm in your campervan in winter
If you choose to brave the cold of winter, there are plenty of steps you can take to retain heat inside your campervan that don’t require you to rip out the entirety of its insides. While insulation is your first and main barrier against the cold (and the heat), the following solutions will help control your campervan’s temperature and might even add a splash of homely vibrancy, too. Find these at your local stores or our very own accessories shop!
- Window insulation: Window insulation for campervans can come in various formats, from transparent glazing that adds an extra layer of heat protection, to full reflective window covers for the night-time.
- Draft excluders: Heavy-duty draft excluders can be fitted snug beside your van to block any cold air from entering from the bottom.
- Blankets: Made of thick wool or polyester for quality heat retention.
- Rugs: While adding a pop of colour, rugs will also improve heat retention inside the vehicle by preventing heat from escaping downwards.
- Indoor heater: If your campervan is inefficiently insulated or you simply would like an extra boost of heat, a mini indoor heater could be necessary.
- Thermal layers: Particularly if you’re travelling through the depths of winter and love a hike through the hills, why not consider thermal layers, including fleeces, hats, socks and gloves?
- Hot water bottles: When sleeping at night or relaxing during the day, a hot water bottle never fails to deliver satisfying warmth.
From our accessories shop, which will allow you to buy all your essential extras, to our servicing garage, at Spinney you can find everything you need to enjoy a safe and enjoyable winter excursion. But, if you don’t fancy the hassle of refurbishing your own campervan, don’t sweat it, we’re here for you! From budget-friendly used campervans to brand new models from market leaders like Adria, Bailey, Elddis and Xplore, you can escape to the country with the peace of mind that you’ll be cosy and warm.
To elevate how you experience the outdoors, visit our branches or contact us today!

Written by Charlie Holland
- Improving campervan insulation to winterproof your vehicle
- What is campervan insulation?
- What types of campervan insulation are there?
- How to choose the best insulation for your campervan?
- How to install your campervan insulation
- The importance of controlling condensation
- How does insulation actually work?
- Environmental and health considerations
- Other methods of keeping warm in your campervan in winter

Vogue
Exclusive Vogue - a special for everyone!
View our selection of Vogue special edition leisure vehicles available, only found here at Spinney.
Spinney branches
Spinney dealership